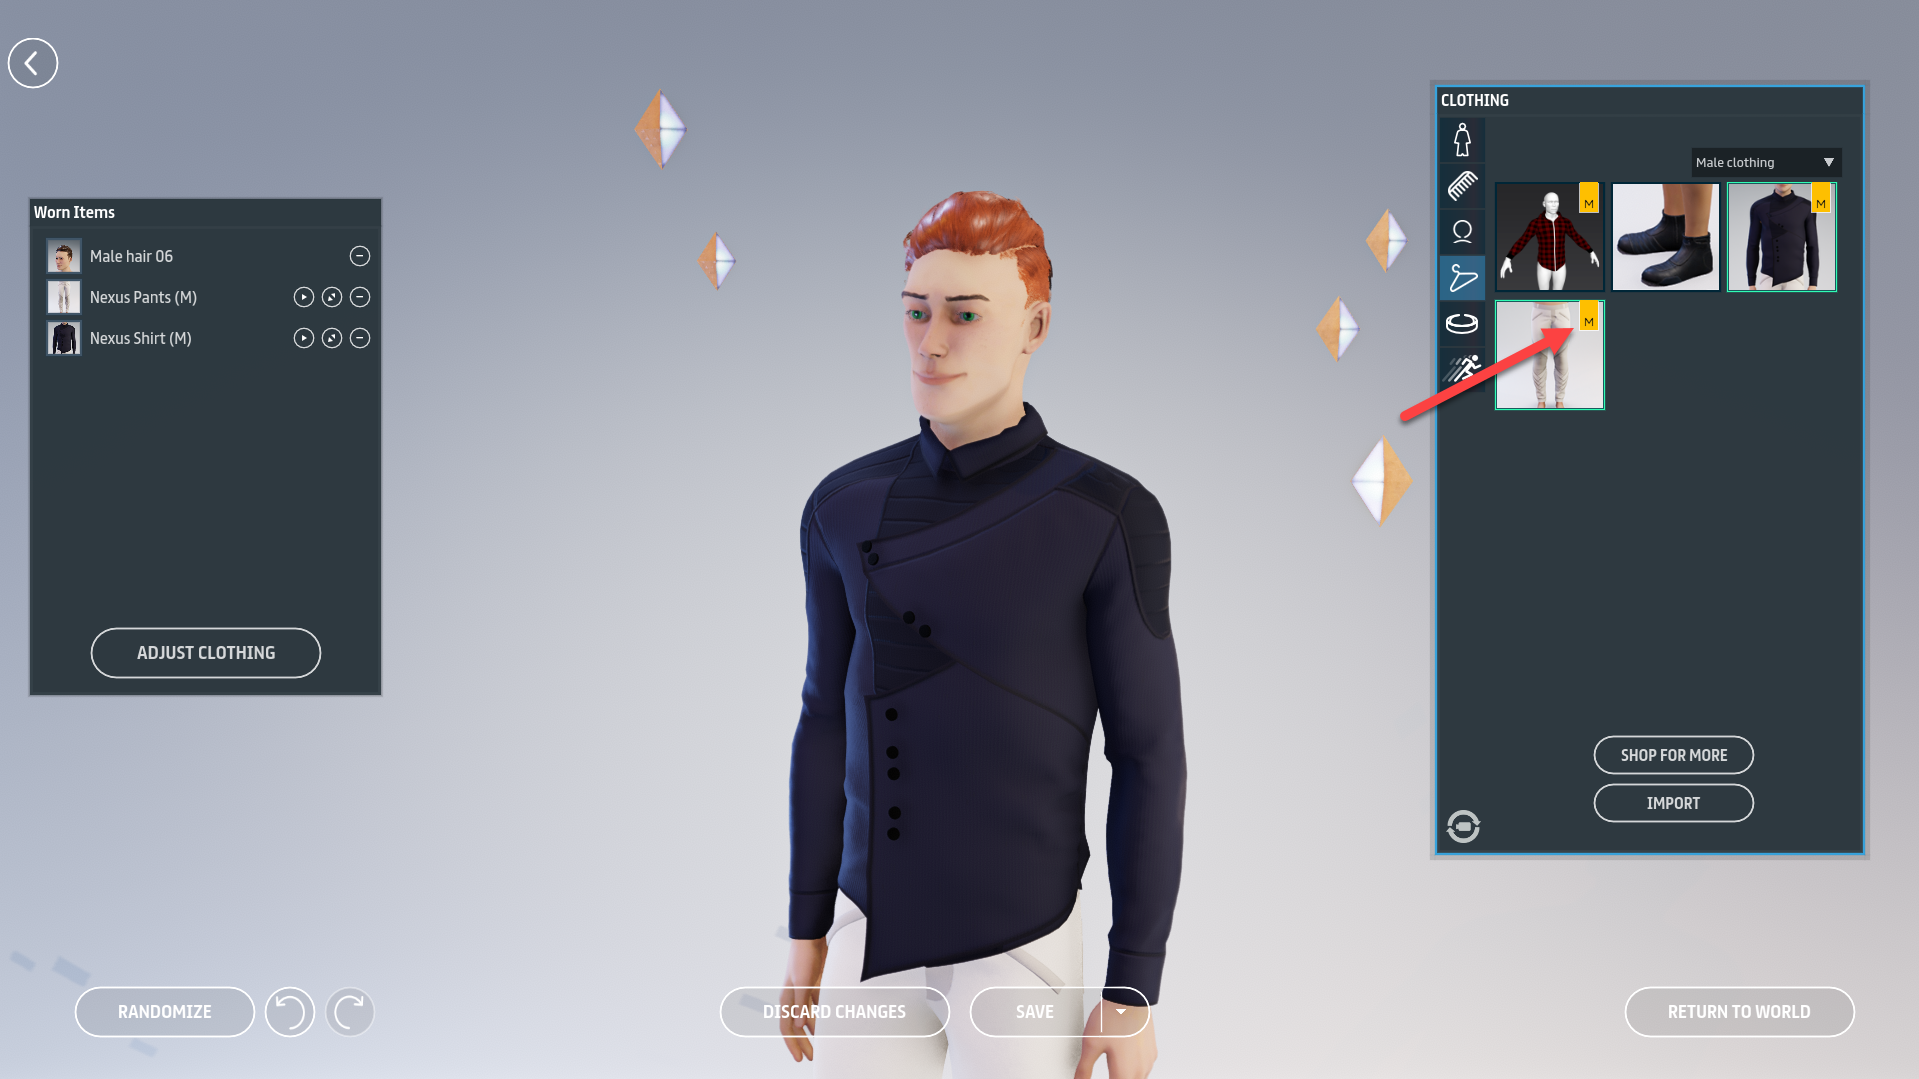
Marvelous Designer clothing is marked with an "M" logo.
Marvelous Designer clothing is marked with an "M" logo.

Click the triangular Play button next to a clothing item to adjust that item, or click Adjust Clothing to adjust all Marvelous Designer clothing on your avatar.
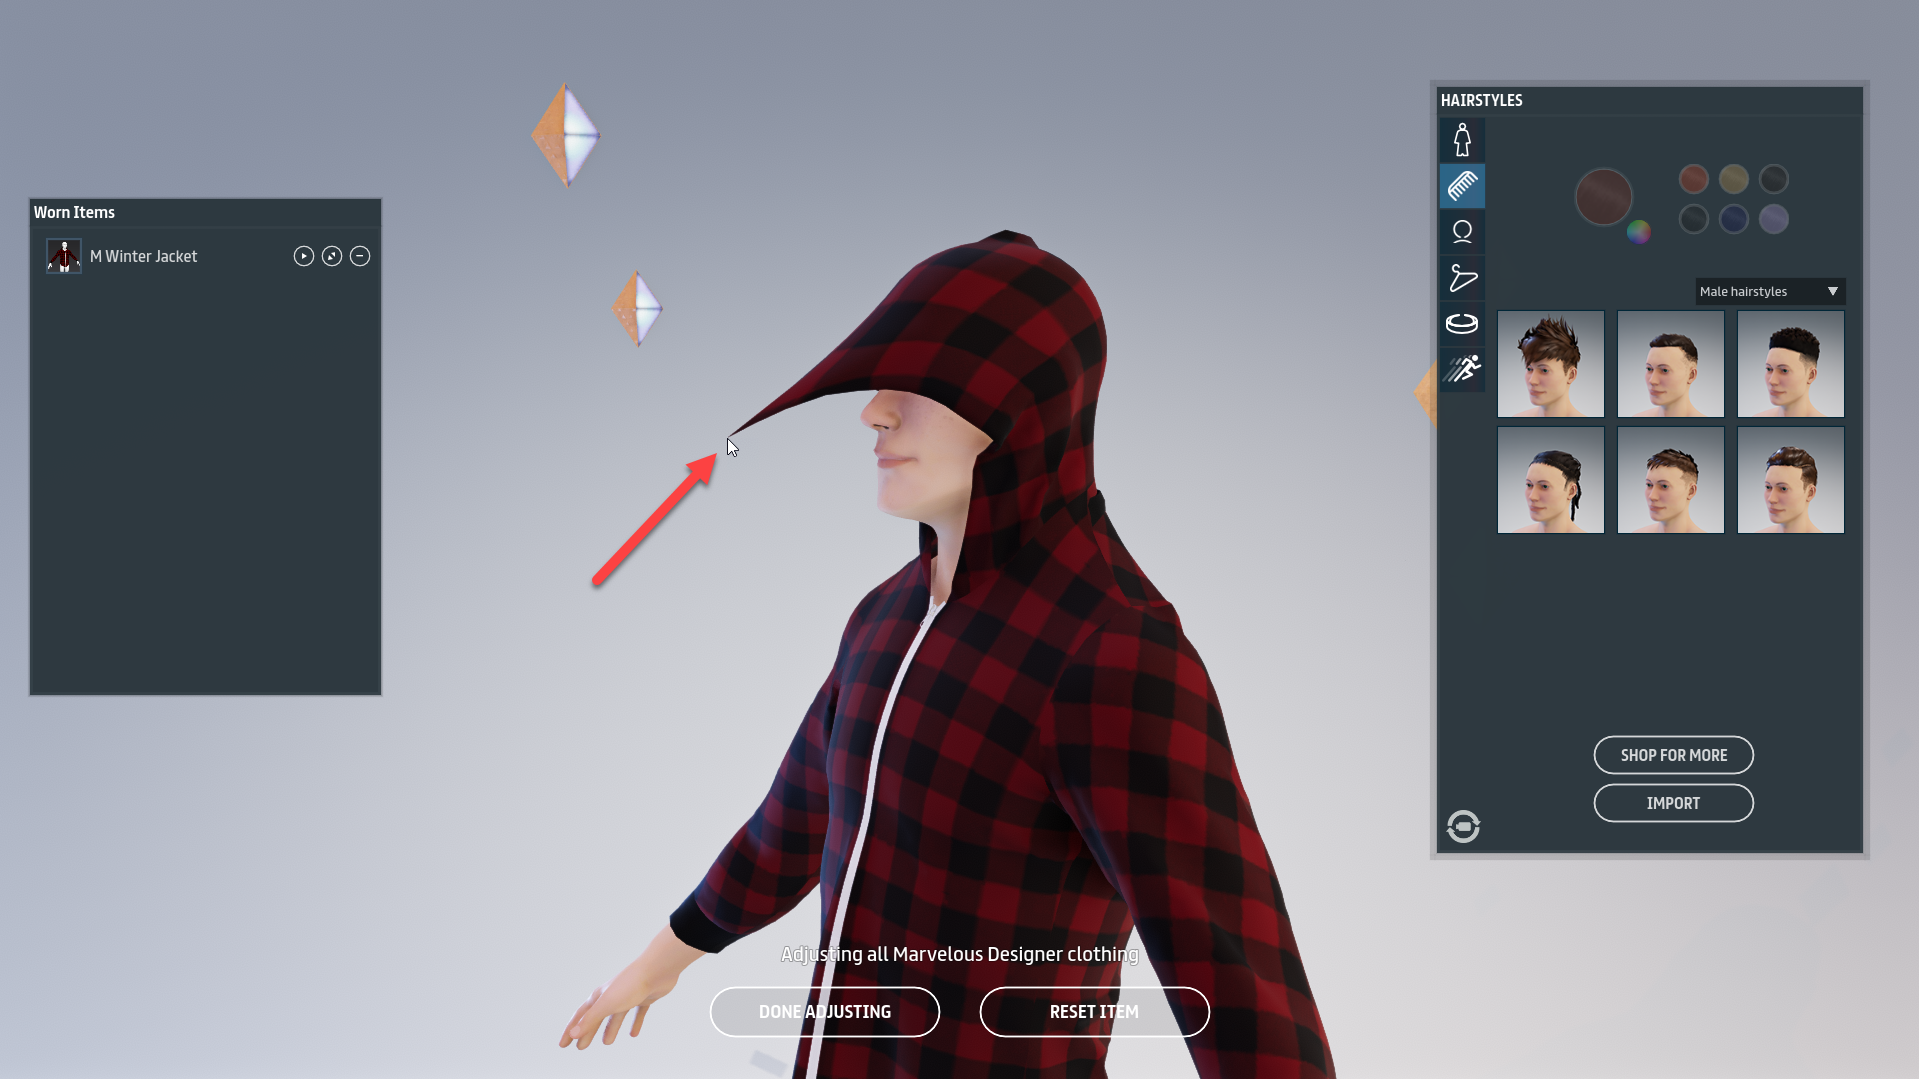
Click and drag while in adjust mode to adjust a garment's fit and position. For example, this hood was pulled over the avatar's head.
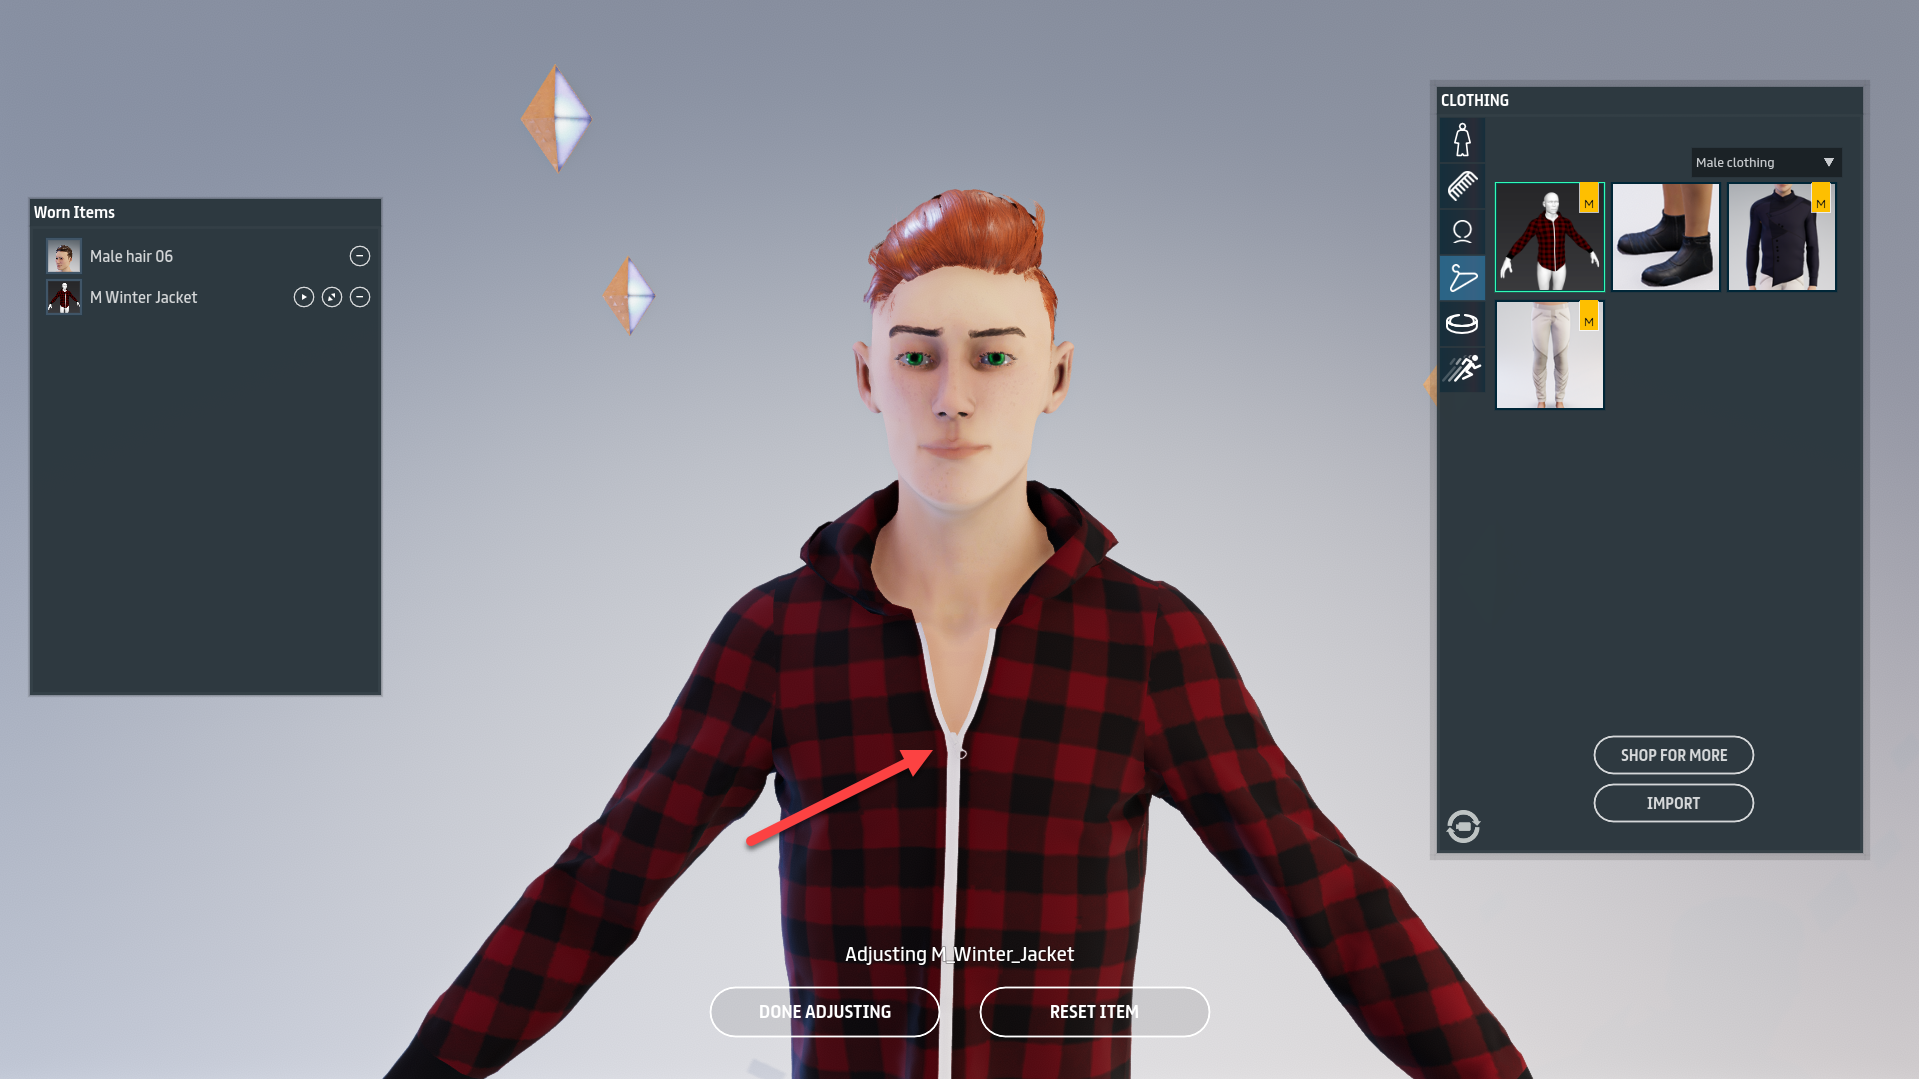
Drag the zipper tab up or down to zip or unzip zippered clothing.

Note: At this time, there is no visual indicator for active pins. Clothing simply "sticks" at the pinned location and does not pull with the rest of the clothing.
Click on the transform item button to move, rotate or resize a clothing item.
Click the Translate button on the worn items panel to expose the translation gizmo.
.png?alt=media)
Click the rotate button on the worn items panel to expose the rotation gizmo.
.png?alt=media)
Click the scale button on the worn items panel to expose the scale gizmo.
Click the All transformations button on the worn items panel to expose the full gizmo.